Having dashboard lights not working can indicate various electrical issues in the car. It is crucial to check the fuse, light switch, and wiring to identify and fix the specific problem causing the dashboard lights malfunction.
In this comprehensive guide, we will outline the common causes of dashboard lights not working and provide practical fixes to get your car’s electrical system back on track. Whether it’s a simple fuse replacement or more complex wiring troubleshooting, we will cover all the potential solutions to help you address and resolve this issue effectively.
Understanding the possible causes and their respective fixes will enable you to tackle the problem with confidence and ensure the safe operation of your vehicle.
Common Causes Of Dashboard Lights Not Working
When your car’s dashboard lights stop working, it can be frustrating and potentially dangerous. Understanding the common causes behind this issue can help you identify and troubleshoot the problem quickly. Here are a few common reasons why your dashboard lights may not be working:
Blown Fuse
A blown fuse is one of the most common reasons for dashboard lights not working. A fuse is designed to protect electrical circuits by breaking the circuit when there is an overload. If a dashboard light bulb shorts out or there is a power surge, it can cause the fuse to blow. To fix this issue, you’ll need to locate the fuse box in your car, typically found under the dashboard or in the engine compartment. Using the owner’s manual, identify the fuse corresponding to the dashboard lights and replace it if necessary.
Faulty Bulbs
Another reason for your dashboard lights not working could be faulty bulbs. Over time, dashboard light bulbs can burn out or become loose, resulting in a lack of illumination. To check if this is the issue, start by identifying the specific dashboard lights that are not working. Then, find the corresponding bulbs in your car’s owner’s manual or by consulting a professional mechanic. Replace any faulty bulbs following the manufacturer’s instructions to ensure proper functionality.
Poor Battery Connection
A poor battery connection can also cause dashboard lights to stop working. If the battery terminals are loose or corroded, they may not be providing sufficient power to the electrical system. In this case, you may notice other electrical issues in your car as well. To fix this problem, you’ll need to inspect the battery terminals for any signs of corrosion or looseness. If necessary, clean the terminals using a wire brush and tighten them securely. This should restore proper power flow to your dashboard lights.
In summary, the common causes of dashboard lights not working include blown fuses, faulty bulbs, and poor battery connections. By understanding these potential issues, you can troubleshoot and fix the problem quickly. Remember to refer to your car’s owner’s manual or seek assistance from a professional mechanic if needed. Maintaining proper dashboard light functionality is crucial for safe and efficient driving.
Credit: www.lakelandhyundai.com
Fixing Blown Fuses
Blown fuses causing dashboard lights to malfunction? Learn how to fix this common car electrical problem and get your lights working again. Save time and money with these easy DIY fixes.
If your dashboard lights are not working, one of the most common causes could be a blown fuse. Fixing blown fuses is a relatively simple task that you can do yourself, saving you time and money on unnecessary repairs.
Locating The Fuse Box
The first step in fixing blown fuses is to locate the fuse box in your car. The fuse box is typically found near the driver’s side dashboard or under the hood. It’s usually a small, rectangular box with a removable cover.
To locate the fuse box in your car, refer to the owner’s manual. The manual will provide you with the exact location and diagram of the fuse box. In most cars, you can find the fuse box on the driver’s side, beneath the steering wheel. However, some vehicles may have it in a different location, such as in the glove compartment or under the dashboard.
Identifying The Blown Fuse
Once you’ve located the fuse box, it’s time to identify the blown fuse. The fuse box cover or the owner’s manual will have a diagram that shows the different fuse positions and their respective functions. Look for the diagram that matches the fuse box in your car.
Inspect each fuse to check for signs of a blown fuse. A blown fuse usually has a broken wire inside or a blackened appearance. Use a fuse tester or simply pull out each fuse one by one to visually inspect them.
Replacing The Blown Fuse
After identifying the blown fuse, it’s time to replace it. Make sure you have the correct replacement fuse, which is typically labeled with its voltage and amperage. It’s important to replace the blown fuse with one that has the same specifications to avoid damaging your car’s electrical system.
To replace the blown fuse, simply remove it from the socket using fuse pullers or a pair of needle-nose pliers. Insert the new fuse into the same socket and make sure it fits securely. Once you’ve replaced the blown fuse, test your dashboard lights to ensure they are working properly again.
Remember to always carry spare fuses in your car in case of emergencies. It’s a good practice to check the fuse box periodically and replace any blown fuses promptly. By regularly maintaining your car’s electrical system, you can prevent potential issues and enjoy a hassle-free driving experience.
Replacing Faulty Bulbs
When facing dashboard lights not working issues in your car, one common culprit may be faulty bulbs. Thankfully, replacing these faulty bulbs is a relatively simple fix that you can perform yourself. Follow the step-by-step guide below to address this specific electrical problem.
Accessing The Bulbs
To begin, locate the panel covering the dashboard lights. This panel can usually be found beneath the dashboard or in the instrument cluster. Use a tool such as a flathead screwdriver to carefully pry the panel off, ensuring not to damage any surrounding components. Once the panel is removed, you’ll have clear access to the bulbs.
Removing The Faulty Bulb
Next, identify the faulty bulb by visually inspecting each one for signs of damage or discoloration. Once found, gently twist the bulb counterclockwise to release it from its socket. Then, carefully pull the bulb out of its holder, ensuring not to break it or damage the wiring. Dispose of the faulty bulb properly.
Installing A New Bulb
Now, take the new bulb and insert it into the empty socket, aligning the pins with the slots. Gently twist the new bulb clockwise to secure it in place. Once secured, replace the panel cover over the bulbs and ensure it’s snugly reattached. Test the lights to ensure the new bulb is functioning as expected.
Fixing Poor Battery Connection
When dealing with dashboard lights not working issues, fixing poor battery connection can often resolve the problem. Here are some essential steps you can take to address this common car electrical problem.
Inspecting Battery Terminals
Begin by inspecting the battery terminals for any signs of corrosion or looseness. Check for any visible damage or accumulation of dirt or grime. Clean the terminals thoroughly for a better connection.
Cleaning Corroded Terminals
If corrosion is present on the terminals, mix baking soda and water into a paste, and use a wire brush or toothbrush to scrub the terminals. After carefully scrubbing, rinse with water and dry the terminals thoroughly before re-attaching them.
Tightening Loose Connections
Check for any loose connections and ensure that the terminals are securely fastened. Use a wrench or socket set to tighten the connections to the appropriate torque specifications to prevent further issues.
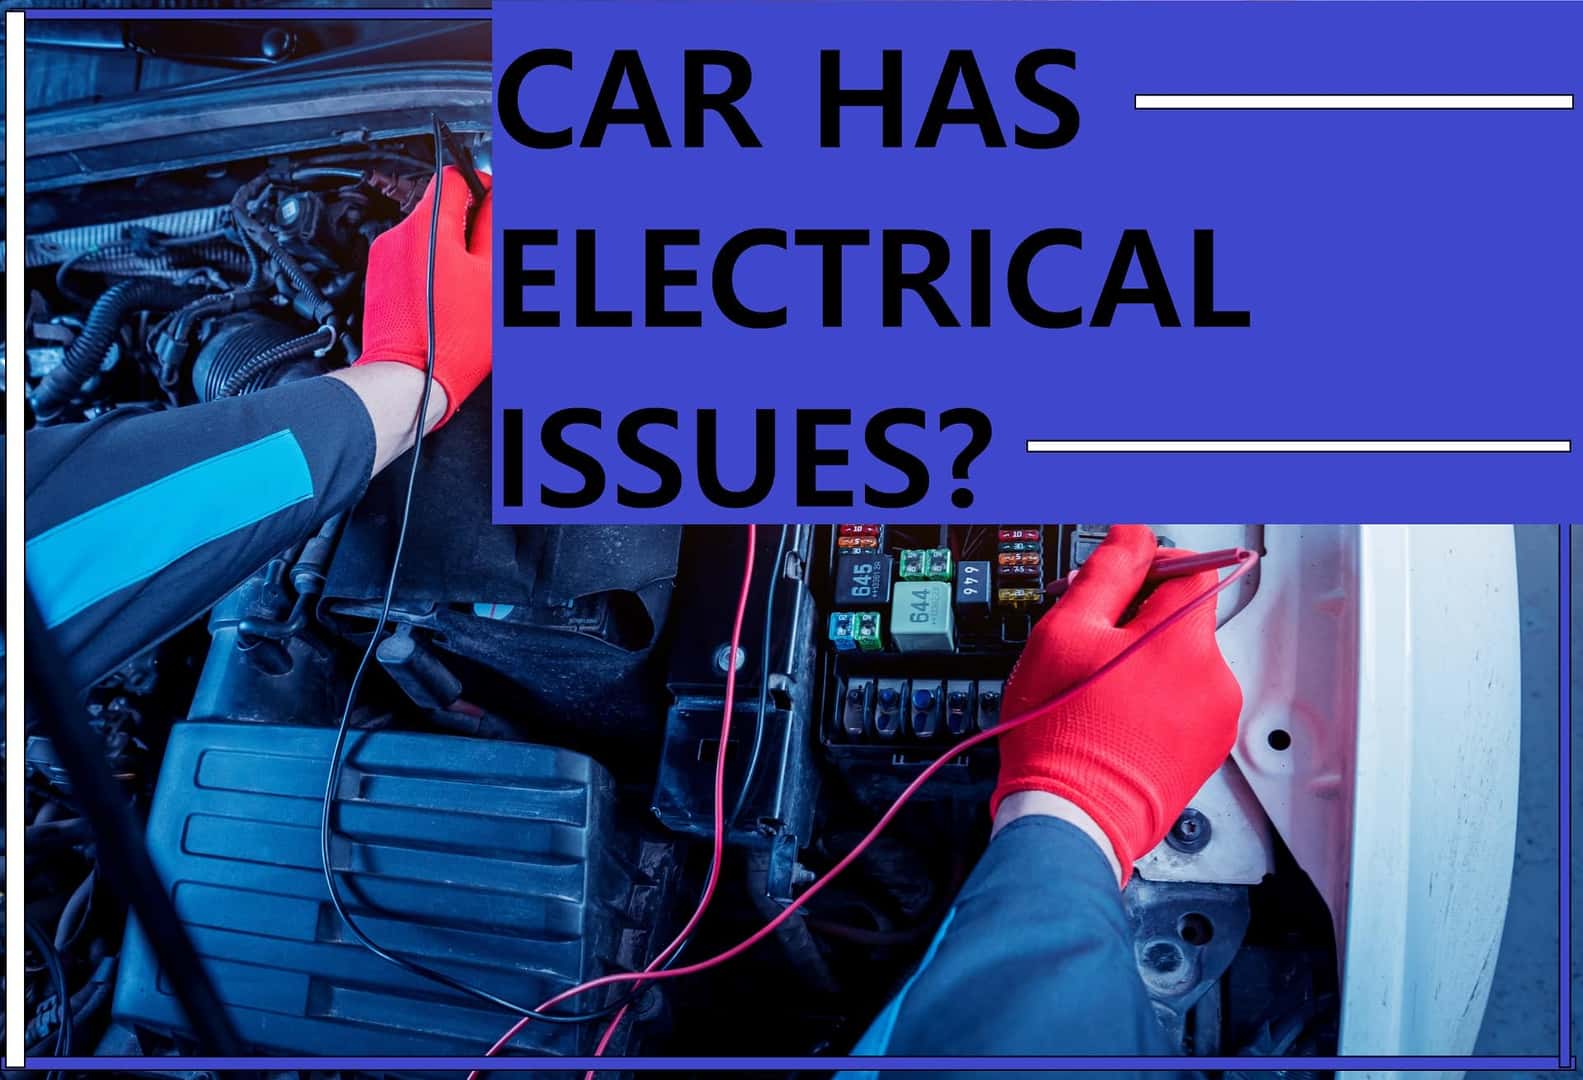
Diagnosing Complex Electrical Issues
When it comes to car electrical problems, one of the most frustrating issues you may encounter is when your dashboard lights stop working. Not only can it be disconcerting to drive without the important information these lights provide, but it can also indicate a more complex electrical problem within your vehicle. However, with the right diagnostic tools, basic knowledge of wiring connections, and professional help, you can effectively diagnose and resolve these issues.
Using A Diagnostic Tool
If you are experiencing dashboard lights not working, using a diagnostic tool can prove to be invaluable in identifying the root cause of the problem. These tools are designed to scan your car’s electrical system and retrieve error codes, providing valuable information about the specific issue at hand. By connecting the diagnostic tool to your car’s onboard computer, you can gain insights into which specific components or circuits may be malfunctioning.
Checking Wiring Connections
Another common culprit behind non-functional dashboard lights are loose or faulty wiring connections. Over time, vibrations or temperature fluctuations can cause these connections to become loose or corroded, resulting in a poor electrical connection. To diagnose this issue, start by visually inspecting the wiring harnesses and connectors behind your dashboard. Look for any signs of damage or loose connections. You can also try gently wiggling the wires to see if the lights flicker or turn back on temporarily. If you find any loose connections, carefully reattach them and secure them tightly. Remember to disconnect your car’s battery before doing any work on the electrical system to prevent any potential hazards.
Seeking Professional Help
If you have tried using a diagnostic tool and checking the wiring connections but still can’t resolve the issue, it may be time to seek professional help. Car electrical problems can be complex, and attempting to fix them without the necessary expertise can lead to further complications or even damage to your vehicle. A qualified auto electrician has the knowledge, experience, and specialized tools to diagnose and repair intricate electrical issues. They can pinpoint the specific cause of your dashboard lights malfunction and perform the necessary repairs or replacements, restoring your car’s electrical system to proper working order.

Credit: www.dubizzle.com
Preventing Dashboard Lights Not Working
Fixing car electrical problems that cause dashboard lights to stop working is crucial for safe driving. Discover effective solutions to prevent issues and ensure your dashboard lights are functioning properly.
Regular Maintenance
Regular maintenance is crucial to prevent dashboard lights from not working. It is important to keep all the electrical components of your car in optimal condition. Regularly check for any loose connections or frayed wires. Make sure to clean the terminals of your car’s battery to prevent any build-up that could disrupt the electrical flow. A well-maintained car is less likely to experience dashboard light issues.Monitoring For Warning Signs
Being vigilant and monitoring for warning signs can help prevent dashboard lights from not working. Pay attention to any flickering or dimming of the dashboard lights. If you notice any abnormalities, promptly address the issue before it worsens. Ignoring warning signs can lead to complete failure of the dashboard lights and other electrical problems.Keeping Electrical Components Dry
One of the key ways to prevent dashboard lights from not working is by keeping electrical components dry. Moisture can cause electrical issues, including malfunctioning dashboard lights. Avoid driving through deep water or puddles that can potentially damage the wiring. It is also important to keep the interior of your car dry. If you spill any liquids, clean them up immediately to minimize the risk of electrical damage.Regular Maintenance
| To Prevent Dashboard Lights Not Working |
|---|
| – Check for loose connections and frayed wires. |
| – Clean the terminals of your car’s battery regularly. |
Monitoring For Warning Signs
- Pay attention to flickering or dimming dashboard lights.
- Promptly address any abnormalities to prevent further issues.
Keeping Electrical Components Dry
- Avoid driving through deep water or puddles.
- Keep the interior of your car dry and clean up spills immediately.

Credit: www.capitol-chevy.com
Conclusion
To conclude, understanding and addressing car electrical problems, specifically dashboard lights not working, is crucial for a safe and efficient driving experience. By following the mentioned fixes and taking prompt action, you can easily troubleshoot and resolve this issue. Regular maintenance, proper inspection, and seeking professional help when necessary will ensure optimal functioning of your car’s electrical system.
Stay vigilant, prioritize safety, and enjoy a hassle-free driving journey.