A car horn that’s not working can be a real headache, especially when you need it the most! Whether it’s a honk of warning or just a friendly beep, it’s frustrating when your car horn fails. In this article, we’re going to walk you through the possible causes, troubleshooting tips, and how to fix that pesky problem.
Understanding Your Car Horn System
Your car horn system may seem simple—press a button and get a sound—but it’s actually more complex than that. When you press the horn button, it sends a signal through an electrical circuit that activates the horn. This circuit is made up of several key components that all need to work in harmony for the horn to sound properly.
What makes a car horn tick?
At the heart of the horn system is the horn itself, typically located near the front of your car. The horn is powered by electricity, which comes from your car’s battery. When you press the horn button on your steering wheel, a switch closes, sending a signal through the wiring to the horn. The horn, usually a type of electromagnetic device, converts that electrical signal into sound. Inside, you’ll often find a coil and a diaphragm that vibrate when current flows through them, producing the loud sound.
Another crucial component is the fuse that protects the system from electrical surges. This fuse ensures that if something goes wrong, the horn system won’t fry. There’s also the horn relay, a switch that controls the higher voltage needed for the horn to function properly. The horn circuit also relies on wiring that connects all the components to the car’s electrical system.
Why the horn might stop working
Now that you know how the horn works, it’s time to dive into the most common reasons why your car horn might not be working. Many people assume that a horn that won’t make noise is simply broken, but there are plenty of other issues that can cause it to malfunction. Let’s break them down.
Faulty Horn Fuse: A Simple Fix for a Non-Working Horn
The first place you should check when your car horn stops working is the fuse. Fuses are designed to protect your car’s electrical systems by cutting off power if a circuit overloads. If a fuse blows, it can disconnect the horn’s power supply. Fortunately, this is one of the easiest and cheapest problems to fix.
How to check and replace the fuse
Your car’s fuse box is typically located in the dashboard, near the driver’s side, or under the hood. Consult your car’s manual to locate the horn fuse, which is usually labeled as “horn” or something similar. Once you’ve found it, visually inspect the fuse to see if it looks blown. A blown fuse will often appear discolored, broken, or have a burned smell.
To replace a blown fuse, you’ll need to pull it out using fuse pullers or pliers, and then install a new fuse of the same amperage rating. Don’t be tempted to use a fuse with a higher rating, as that can cause other electrical problems. If you’re unsure which fuse to use, check your car’s manual for the specific fuse size.
When to replace the fuse
If replacing the fuse restores the horn’s functionality, you’re in the clear! But if the fuse blows again soon after replacing it, there could be a deeper electrical issue, such as a short circuit. If that’s the case, it’s time to investigate further.
Blown Horn: The Loudest Culprit
Your car’s horn itself could be the problem if it’s not making any noise. The horn could blow out due to wear and tear, rust, or exposure to water. In some cases, the diaphragm inside the horn may become damaged and fail to vibrate properly, causing a silent horn.
How to test the horn
To test if your horn itself is faulty, you’ll need to locate the horn in your vehicle, which is usually near the front of the car behind the grille or bumper. Once located, you can try applying voltage directly to the horn’s terminals. Be sure to disconnect the battery before doing this to avoid shock or electrical shorts.
If the horn doesn’t make any noise when voltage is applied, it’s likely the issue. Fortunately, replacing a faulty horn is fairly straightforward. You’ll need to remove the old one and install a new one using the appropriate tools.
When the horn needs replacing
If the horn is indeed the issue, replacing it is often the best option. A new horn can cost anywhere from $20 to $80, depending on the make and model of your car. Installation is relatively simple, and you can find many how-to guides and video tutorials to help you through the process.
A Stuck Horn Relay: An Underestimated Problem
The horn relay, often overlooked, is another potential culprit for a non-working horn. A relay controls the power to the horn, allowing the electrical current to flow when you press the button. If the relay gets stuck in the “on” or “off” position, it can prevent the horn from sounding.
How to diagnose a stuck relay
First, you’ll need to locate the horn relay, which is typically located in your car’s fuse box. Look for a small box or a component marked with the word “relay.” You can test the relay by swapping it with another relay in the fuse box (one that you know is working) to see if the horn starts functioning.
If this does the trick, you may need to replace the relay. Relays are inexpensive, and swapping them out is usually a simple fix. If the problem persists after changing the relay, the issue may be deeper within the wiring or another part of the electrical system.
Wiring Issues: Corroded or Broken Connections
A damaged or corroded wire can prevent the horn from receiving the electrical signal it needs to function. Over time, wiring can become frayed, break, or corrode, especially if exposed to moisture, dirt, or road salt. The wiring could also become disconnected, preventing the horn from being activated.
How to inspect the wiring
To check for wiring issues, you’ll need to locate the wiring that runs to the horn. This may involve removing panels or other components to gain access. Once you can see the wiring, look for signs of wear, such as fraying, cuts, or discoloration. Corroded connectors or exposed wires are also common problems.
If you find any damaged wires, you may be able to repair them by cutting out the damaged section and splicing in new wire. Use electrical tape to ensure everything is properly insulated. If you’re not confident in your ability to repair the wiring, you might want to take your car to a professional mechanic.
When wiring issues require professional help
Sometimes, wiring issues can be complex and difficult to diagnose, especially if the problem lies deep within the car’s electrical system. In such cases, it’s best to have a professional mechanic inspect the wiring and ensure everything is functioning correctly.
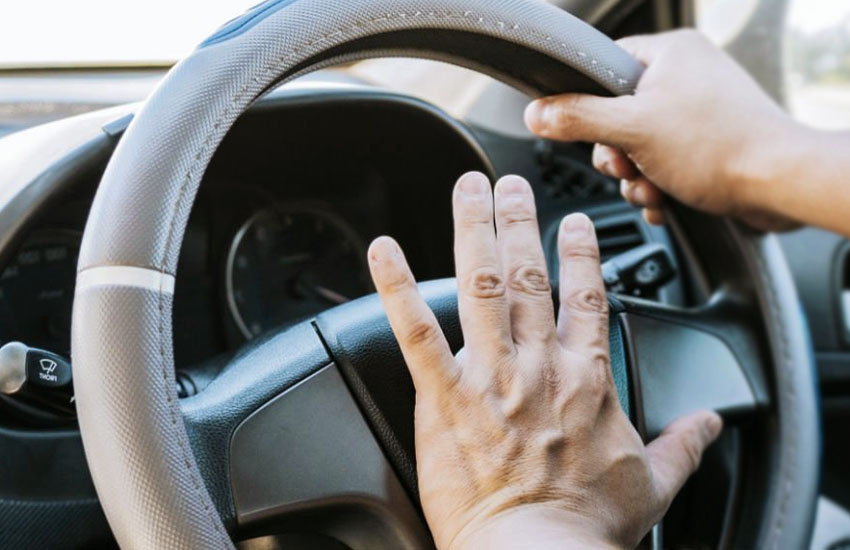
The Horn Button: What If the Button Isn’t Working?
The horn button itself, located on your steering wheel, is another common point of failure. This switch sends the signal to the horn when pressed, so if it stops working, your horn won’t sound. The button may malfunction due to dirt, wear, or faulty connections.
How to troubleshoot the horn button
If you suspect the horn button is the problem, you’ll need to inspect the steering wheel and the button itself. Check for any visible damage, wear, or loose connections around the button. If dirt or debris is blocking the button, try cleaning it out with compressed air or a mild cleaner.
When to replace the horn button
If cleaning doesn’t work and the button still doesn’t activate the horn, you may need to replace the button or the entire steering wheel assembly. This can be a bit more involved, so you might want to leave this job to a professional unless you’re comfortable working with car interiors.
I hope this guide has helped you figure out why your car horn isn’t working and what you can do to fix it. From fuses and wiring to the horn itself, we’ve covered the most common issues and troubleshooting steps. Remember, a non-working horn doesn’t always mean a major repair—sometimes a simple fix can do the trick!
Frequently Asked Questions
Is it possible for a car horn to stop working without any obvious cause?
Yes, a horn can fail without any obvious cause. Sometimes, a loose connection or internal component failure may not be immediately visible. Regular maintenance can help prevent this.
Can a horn stop working if the car battery is weak?
Yes, a weak or dying battery can affect the performance of your car’s horn. If your battery isn’t providing enough power, the horn might not function properly.
Do I need to replace the entire fuse box if my horn fuse blows?
No, you don’t need to replace the entire fuse box. Simply replace the blown fuse with one of the correct amperage, and your horn should start working again.
Is it safe to drive with a non-functioning horn?
It’s not ideal to drive without a functioning horn, especially in situations that require warning or alerting other drivers. It’s best to repair the horn as soon as possible.
Can a bad horn relay cause other electrical issues in the car?
Yes, a bad horn relay can cause other electrical issues if it interferes with the car’s overall wiring system. It’s important to replace any faulty relays promptly.
Is there a way to test the horn without turning the car on?
Yes, you can test the horn without turning the car on by directly supplying power to the horn’s terminals. This will help you determine if the horn itself is faulty.
Do I need special tools to replace a faulty horn?
Replacing a horn generally requires basic tools like wrenches and pliers. However, for more complex wiring or relay issues, you may need specialized tools or professional help.
Is there a way to avoid the horn breaking down in the future?
Regular maintenance, such as checking fuses and cleaning connections, can help prevent horn breakdowns. Avoiding exposure to extreme weather conditions can also extend the life of the horn.