To replace brake pads and rotors on a Chevy Silverado, start by lifting the truck, removing the wheels, and loosening the caliper bolts. Then, remove the caliper, old brake pads, and rotor, before installing the new rotor, pads, and caliper accordingly.
When it’s time to replace the brake pads and rotors on your Chevy Silverado, knowing the proper steps can save you time and money. Regular maintenance of your vehicle’s braking system is crucial for safety and performance. In this guide, we will walk you through the process of replacing the brake pads and rotors on a Chevy Silverado.
Following these steps will ensure your truck’s braking system is in top condition, providing optimal stopping power and safety on the road. After completing these simple tasks, you can drive confidently knowing your vehicle is operating at its best.
Preparing For The Job
Before starting the brake pads and rotors replacement on your Chevy Silverado, preparation is key to a successful job. Ensure you have the necessary tools and parts ready for the task at hand.
Gathering The Necessary Tools
- Jack and Jack Stands: Lift the vehicle securely.
- Lug Wrench: Remove the lug nuts.
- Socket Wrench: Unscrew bolts holding the caliper.
- C-Clamp or Brake Caliper Tool: Compress the caliper piston.
- Brake Cleaner: Clean the brake components.
Choosing The Right Brake Pads And Rotors
Ensure optimal performance by selecting the correct brake pads and rotors for your Chevy Silverado. Consult your vehicle manual or a trusted automotive expert.

Credit: www.napaonline.com
Lifting The Vehicle
To replace brake pads and rotors on a Chevy Silverado, you’ll need to lift the vehicle properly. Use a jack and jack stands to raise the front or rear end of the truck. Ensure the vehicle is secure before proceeding with the brake replacement.
This will provide the necessary clearance to effectively replace the brake pads and rotors.
Locating The Jack Points
Understand the Chevy Silverado’s structure for safe and effective lifting.
Using The Jack To Lift The Vehicle
Follow these steps for a smooth and secure lifting process:
– Locate front and rear jack points on the vehicle frame. – Place the jack securely under the front jack point. – Raise the vehicle until the front tires are off the ground.Removing The Wheels
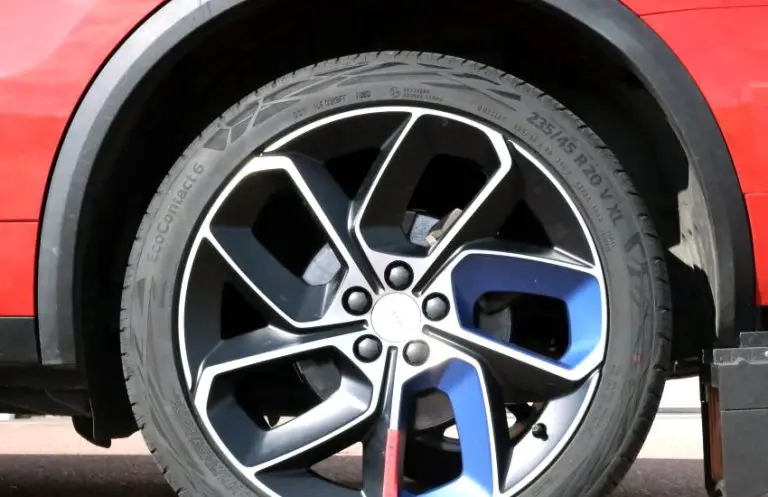
To replace brake pads and rotors on a Chevy Silverado, start by removing the wheels for easy access. This allows for a smoother and more efficient process in replacing these essential components of the braking system.
Loosening The Lug Nuts
Before removing the wheels of your Chevy Silverado, you need to loosen the lug nuts that secure the wheels in place. This is an essential step in the process, as the lug nuts may be tightened with considerable force.
To loosen the lug nuts, you will need a lug wrench or a socket wrench with the appropriate size socket. Place the wrench on one of the lug nuts and exert pressure in a counterclockwise direction to loosen it. Repeat this process for all the lug nuts on the wheel.
It’s important to note that if the lug nuts are excessively tight and difficult to loosen, applying WD-40 or penetrating oil to the threads can help loosen them up. This will make it easier to remove the wheels.
Taking Off The Wheels
Once you have loosened the lug nuts, now it’s time to take off the wheels. This step requires caution and proper technique to ensure safe removal.
Step 1: Using both hands, grip the wheel firmly on opposite sides, making sure you have a secure hold.
Step 2: Slowly pull the wheel towards you while keeping it level to avoid any accidents or damage to the vehicle.
Step 3: Once the wheel is free from the hub, set it aside in a safe location where it won’t roll away.
Remember to check the condition of the wheel as well. If you notice any significant damage or signs of wear, it may be necessary to replace the wheel altogether.
Repeat the same process for the remaining wheels of your Chevy Silverado until all of them are safely removed.
By carefully following these steps, you can easily remove the wheels of your Chevy Silverado in preparation for replacing the brake pads and rotors. Stay tuned for the next section of this guide, where we’ll cover the process of disassembling the brake caliper.
Removing The Brake Caliper
Removing the brake caliper is an essential part of replacing brake pads and rotors on a Chevy Silverado. The brake caliper houses the brake pads and is responsible for creating the clamping force that slows down the vehicle when the brakes are applied. Properly removing the brake caliper is crucial to ensure a safe and effective brake system.
Identifying The Brake Caliper
To begin removing the brake caliper, you first need to identify its location on the Chevy Silverado. The brake caliper is typically located near the top of the rotor and is attached to the steering knuckle or suspension components. It may be secured with bolts or slide pins.
Unbolting The Brake Caliper
Once you have located the brake caliper, use the appropriate tools to unbolt it from the steering knuckle or suspension components. It’s important to support the caliper to prevent it from hanging by the brake hose, which could cause damage. Carefully remove the bolts or slide pins, allowing the caliper to be easily pulled away from the rotor.
Removing The Brake Pads And Rotors
When it comes to maintaining your Chevy Silverado, replacing the brake pads and rotors is an essential task for ensuring optimal performance and safety. To tackle this job, you’ll need to start by removing the brake pads and rotors. This process requires careful attention to detail and the use of appropriate tools to complete the job effectively.
Taking Out The Brake Pads
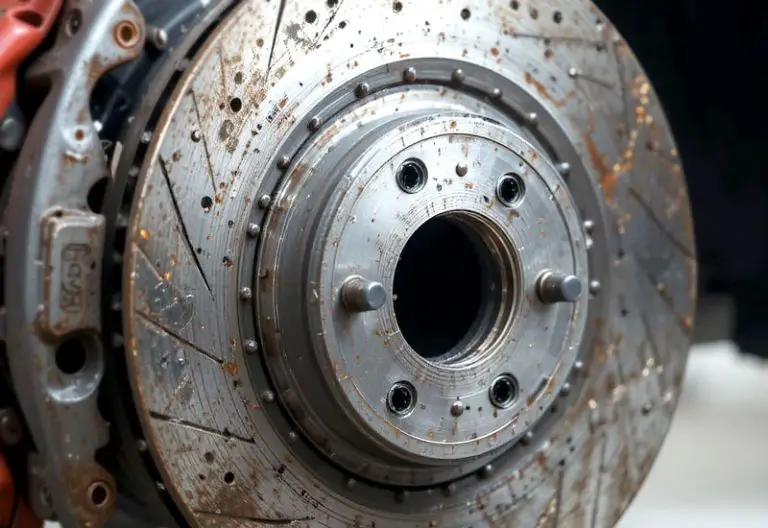
First, ensure the vehicle is securely jacked up and the wheels are removed. Next, unbolt the caliper and carefully lift it off the rotor. Then, slide the brake pads out of the caliper bracket. Inspect the pads for wear and damage, and replace them if necessary. Be cautious not to damage the caliper or brake line during this step.
Removing The Rotors
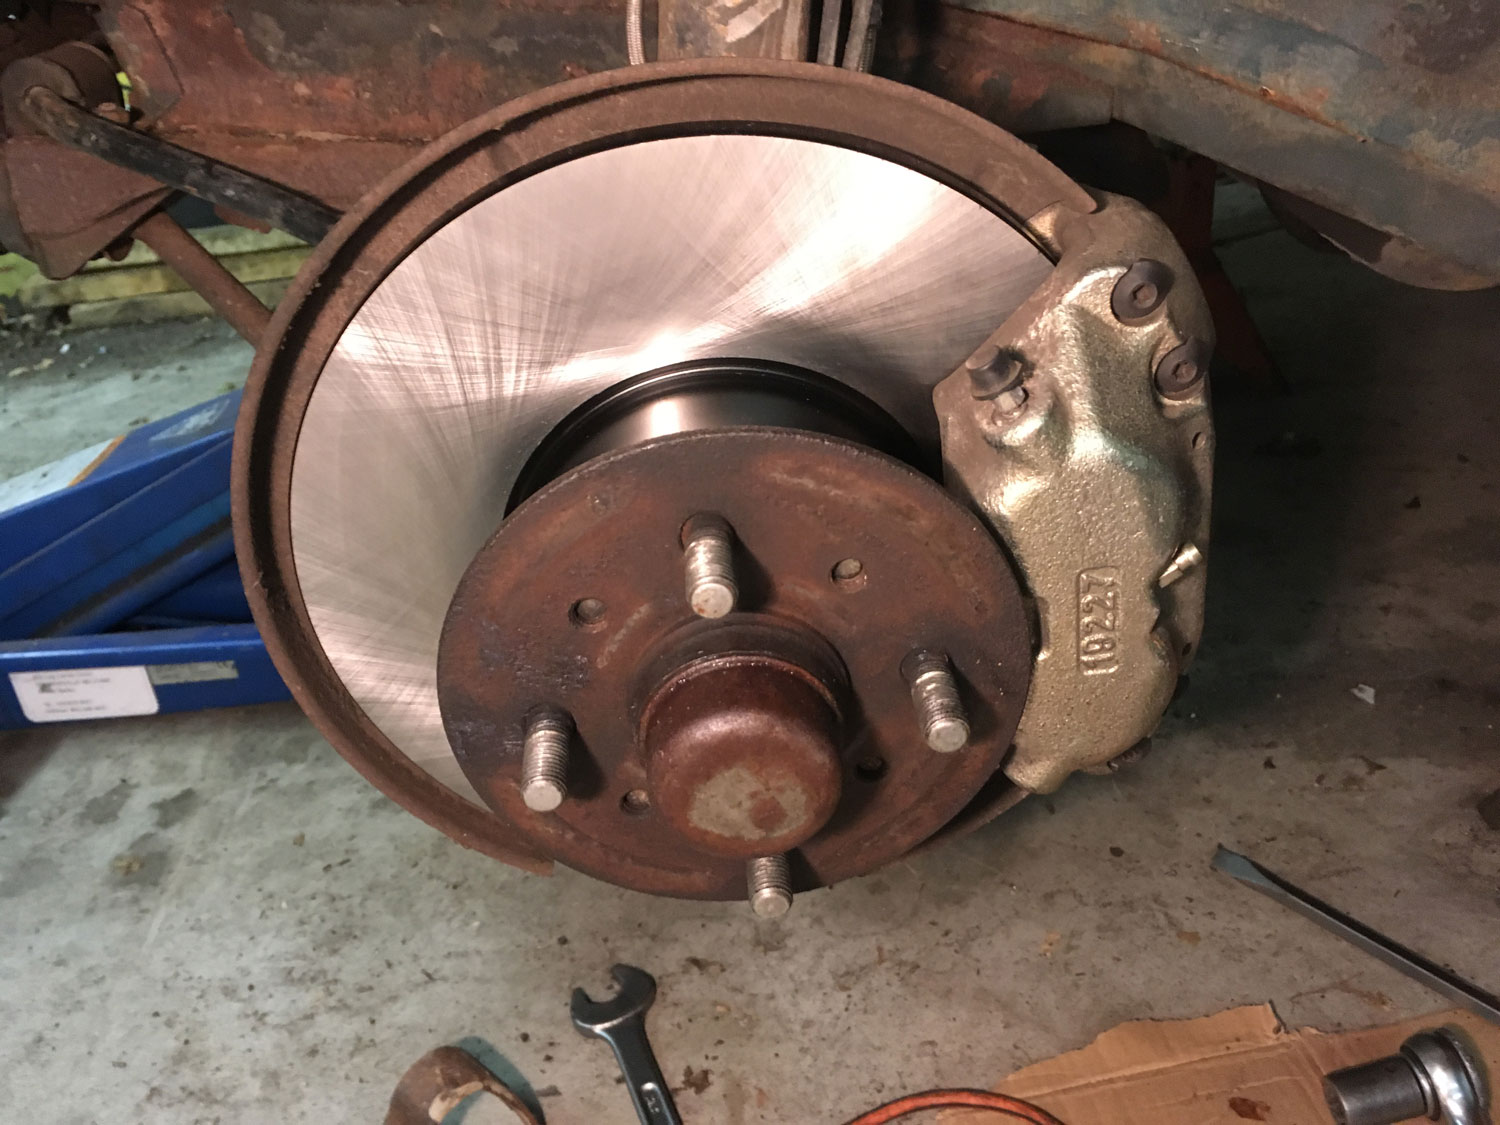
After taking out the brake pads, the next step is to remove the rotors. Start by unbolting the caliper bracket and then detach it from the hub assembly. Once the caliper bracket is removed, the rotor can be taken off. If the rotor seems stuck, gently tap it with a rubber mallet to release it from the hub. Carefully inspect the hub and surrounding components for any signs of wear or damage before installing the new rotors.

Credit: www.hagerty.com
Installing The New Brake Pads And Rotors
Learn to easily replace brake pads and rotors on your Chevy Silverado with these efficient steps. Improve your vehicle’s braking performance by following this comprehensive guide. Keep your truck safe and reliable by installing the new brake components promptly.
Replacing brake pads and rotors on your Chevy Silverado is essential for maintaining optimal braking performance and ensuring your safety on the road. In this section, we will guide you through the process of installing the new brake pads and rotors, step by step.Preparing The New Rotors
Before installing the new rotors, it is important to properly prepare them to ensure optimal performance and longevity. Here’s what you need to do:- Inspect the new rotors for any visible defects or damage. Check for smooth surfaces and ensure they are the correct size and fit for your Chevy Silverado.
- If the rotors appear dirty or oily, use a brake cleaner to thoroughly clean them. This will remove any residue that may hinder their performance.
- Once cleaned, dry the rotors using a lint-free cloth or compressed air.
Installing The Brake Pads
Proper installation of brake pads is crucial for efficient braking. Follow these steps to ensure a successful installation:- First, locate the caliper housing, which is attached to the rotor. It typically has two bolts securing it in place.
- Loosen and remove the caliper bolts using a suitable wrench or socket. Carefully lift the caliper off the rotor and suspend it using a wire or bungee cord. Avoid putting any strain on the brake hose.
- Next, remove the old brake pads from the caliper housing. Inspect them for wear and damage. If they are worn beyond a certain thickness, it’s time to replace them.
- Apply a thin layer of high-temperature brake lubricant to the backing plate of the new brake pads. This will help reduce noise and ensure smooth operation.
- Slide the new brake pads into the caliper housing, making sure they are properly aligned. The metal clips on the brake pads should fit securely into the caliper bracket.
- Gently lower the caliper back onto the rotor and align it with the caliper bracket. Ensure that the brake pads sit flush against the rotor.
- Tighten the caliper bolts to the manufacturer-recommended torque specification. This will ensure proper clamping force on the brake pads and rotor.
Reassembling The Brake Caliper
To replace the brake pads and rotors on a Chevy Silverado, start by reassembling the brake caliper. Ensure a secure fit to maintain optimal braking performance and safety on the road. It’s a critical step in the maintenance process to ensure your vehicle runs smoothly.
Positioning The Brake Caliper
removingcarefully position the brake caliper over the new pads.Tightening The Brake Caliper Bolts
Securelyensure a proper fit and function.Once the brake caliper is positioned correctly, use a wrench to tighten the bolts firmly without over-tightening.Avoid damaging the bolts by applying too much force, and double-check the tightness to prevent any loose parts.Make sure each bolt is straight and securely fastened before moving on to the next step.By following these steps, you can confidently reassemble the brake caliper on your Chevy Silverado.
Credit: sangsinusa.com
Putting The Wheels Back On
After replacing the brake pads and rotors on your Chevy Silverado, it’s crucial to properly mount the wheels and secure them in place.
Mounting The Wheels
- Align the wheel studs with the corresponding holes on the wheel.
- Gently slide the wheel onto the hub until it fits snugly in place.
- Make sure the wheel is flush against the hub before proceeding.
Tightening The Lug Nuts
- Hand-tighten each lug nut in a crisscross pattern to ensure even tightening.
- Use a torque wrench to tighten the lug nuts to the manufacturer’s specified torque settings.
- Check the tightness of each lug nut to guarantee proper installation.
Conclusion
Maintaining the safety of your Chevy Silverado begins with regular brake pad and rotor replacement. By following the simple steps outlined in this blog post, you can easily tackle this necessary maintenance task. Remember to always consult your vehicle’s manual and take the appropriate safety precautions.
With the right tools and a little patience, you’ll be back on the road with smooth braking performance in no time. Take control of your Silverado’s stopping power today!


